AN UNREAL CINEMATIC
“The cultist”
This project was made as a final for a university course taught by Nicholas Hunter over the duration of five weeks.
Initially I had wanted to explore Unreal Engine’s rendering capabilities. I hadn’t gotten a chance to experience other facets of 3D art aside from environmental work before, so I took this opportunity to expand my horizons.
The idea of implementing a previous asset that I had made became the central point for the cinematic. Due to time constraints, I decided to implement free assets found in the Unreal Marketplace for the surrounding environment.
This would allow me to focus on other parts such as VFX, character creation, animation and more as I had intended.
The focal piece
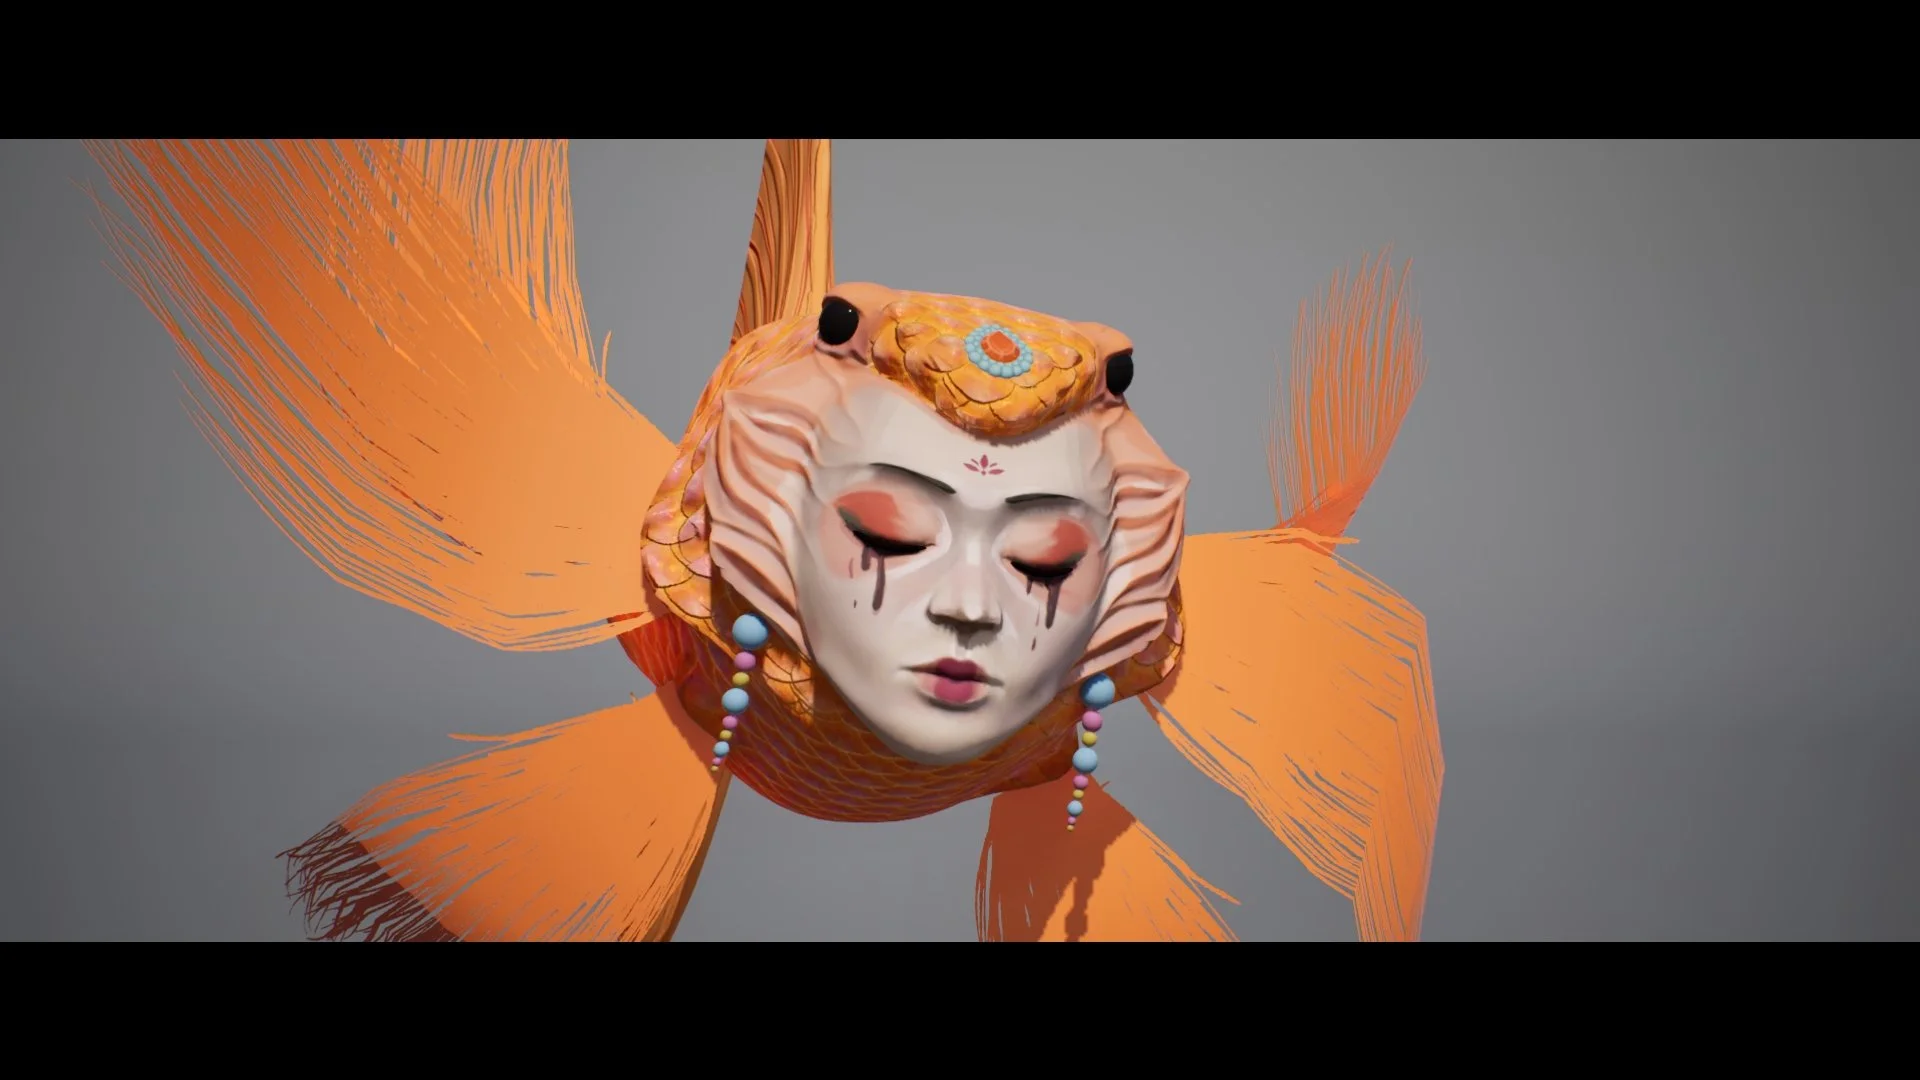
Going into this project, I knew I wanted to focus on a previous asset that I had yet to document.
The Lantern of Servitude by Mukhlis Nur (Sinlaire) uses a high to low workflow, textured in Substance Painter, and in engine materials.
The Cultist
-
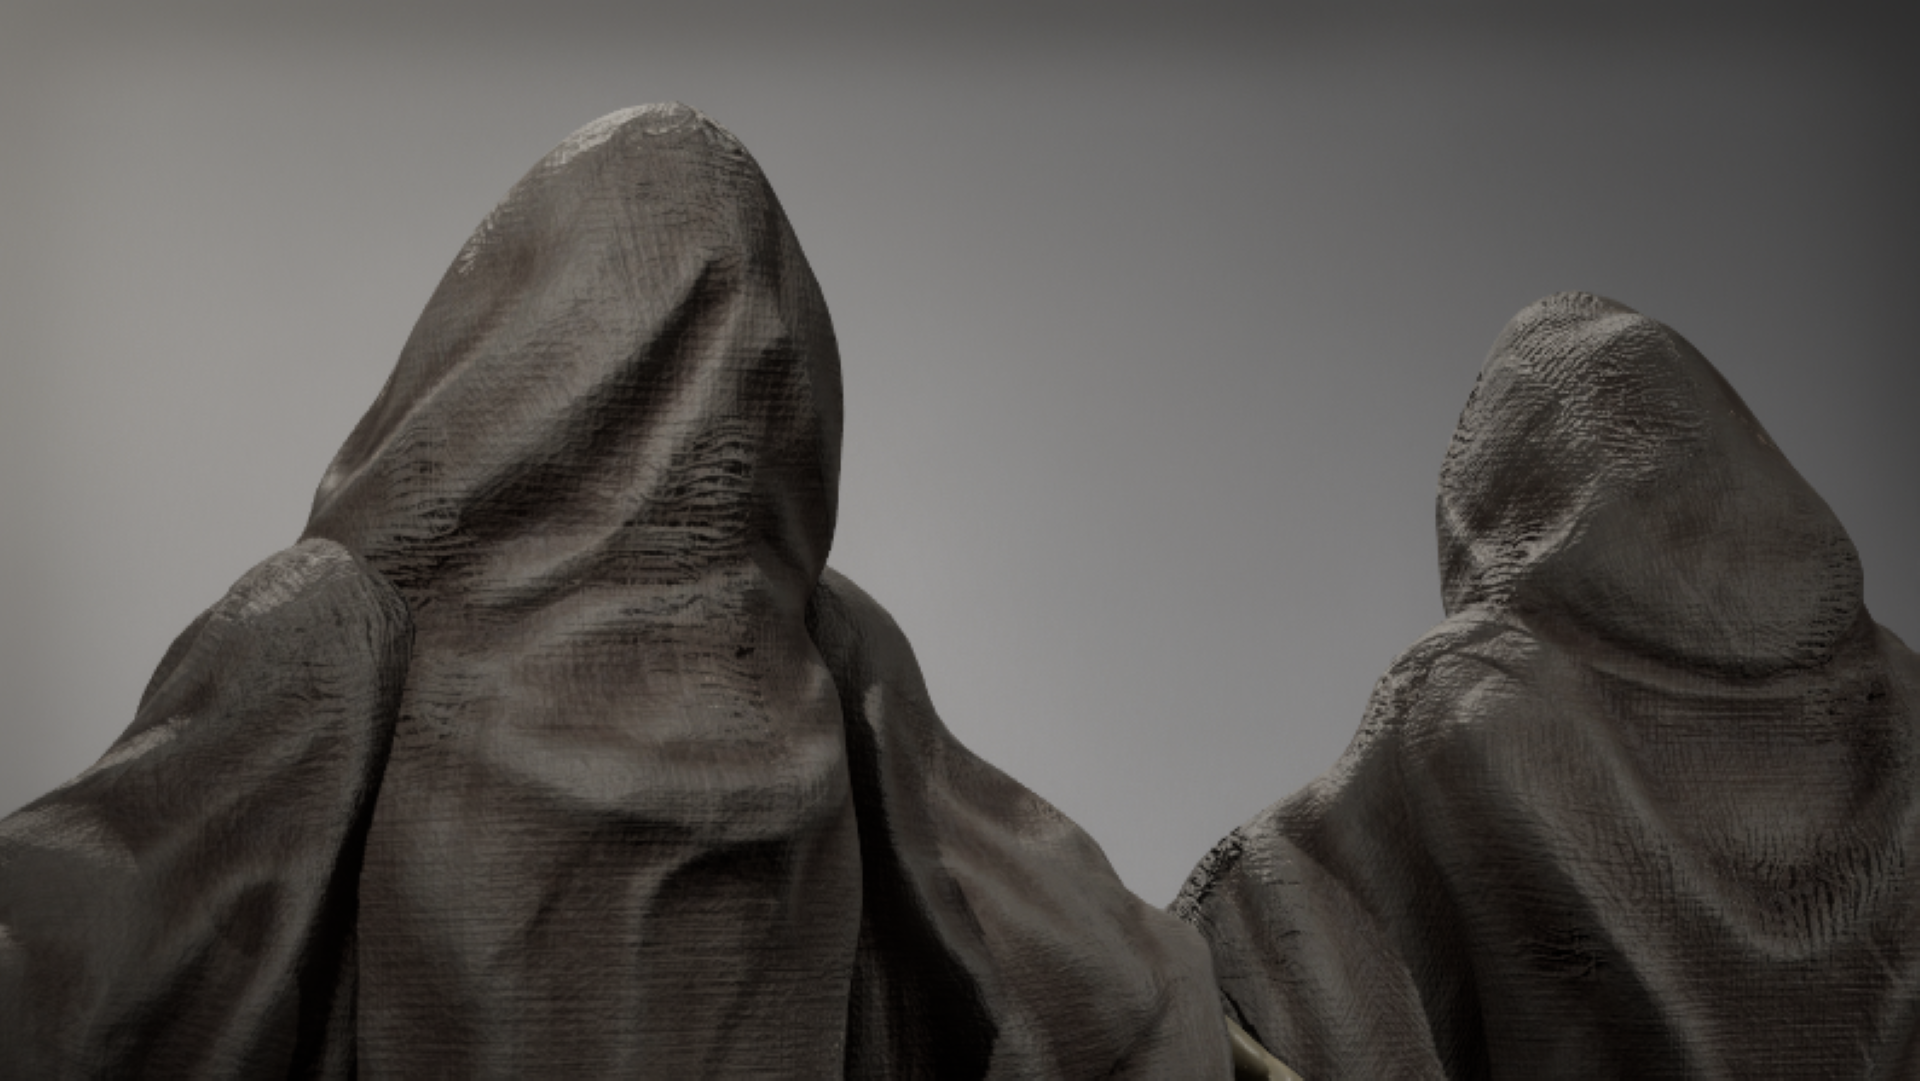
With the knowledge that the lantern would be the focal piece of the cinematic, I decided to make a simple mob like character to offset the intricate decor of the lantern and environment.
The character was speed sculpted by using the preexisting base mesh in ZBrush for the arms and Subdivided spheres for the cloak.
I sculpted out the basic shapes in the low poly before subdividing to then carve details in the high poly. Most brushes used here were the clay build up, Smooth, flatten and an alpha for the skin texture.
Zremesher was used to conserve time and then exported to Maya to complete the UV set for texturing. Although this was a quick fix for retopology, I found that the poly loops created hindered the UV process.
-
I made an Unreal control rig with the node set up below. It occurs to me now that the hands could have been rigged in a much more efficient way by calling the children bones.
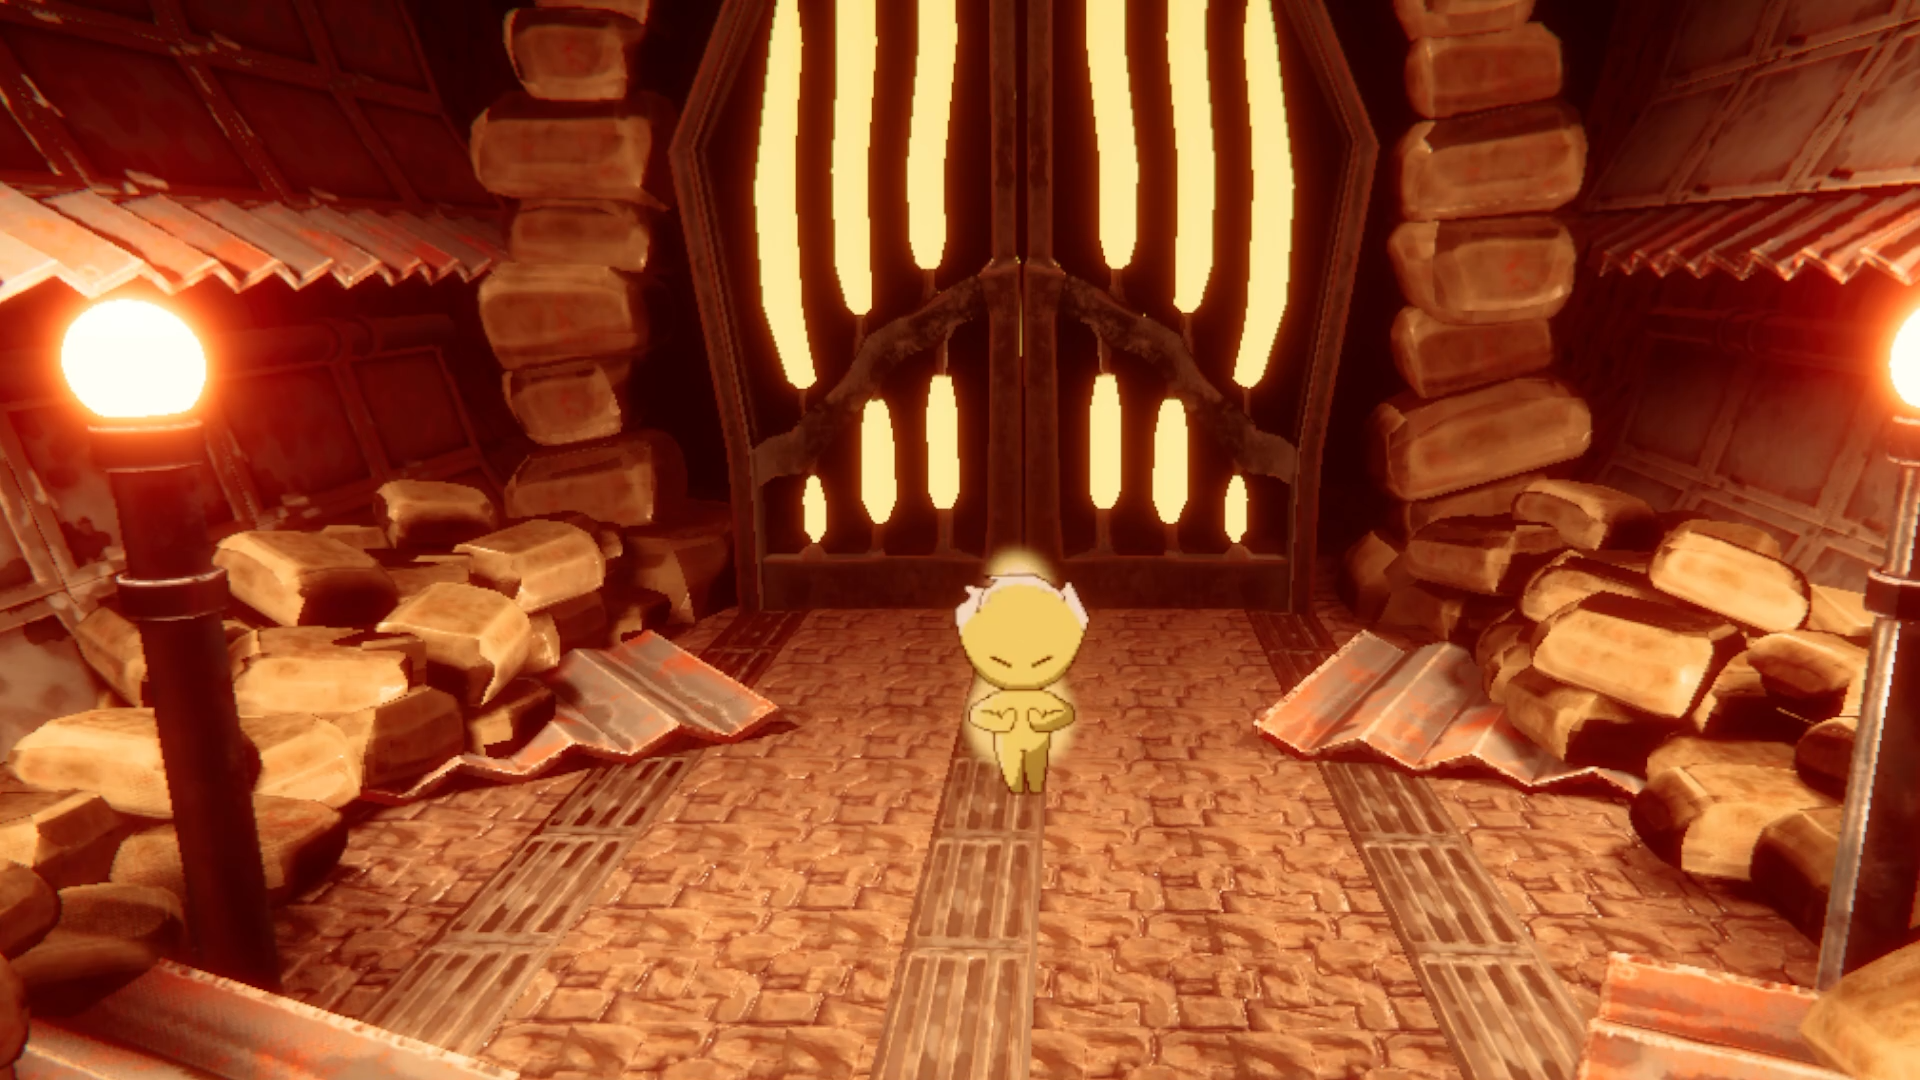
Environment and Lighting
Building out the initial scene, I decided to use preexisting assets that were open to the public on Unreal Engine. I wanted to focus on lighting as it’s something I had yet to work with in engine.
Aiming something with contrast for an otherworldly feel; the Lantern's reference depicted blue or cooler tones thus, I used warmer spot lighting on the sides of the scene.
As the lighting was carefully curated, the key shots were finalized and I added a simple cube to make the blue spotlight bounce more cleanly and through the chapel window for the final shot.
I used the volumetric fog and directional lighting to obtain the god rays while breaking up the directional light with foliage assets to create more interest. The sky sphere was edited and tinted to present cooler toned to enhance the nighttime effect.
VFX and Animation
-
The first effect was made using the 3d gas emitter with a variant of the earlier dissolvable material that was on the floating skulls.
-
I took a free animation and simple model from Mixamo for the base, I then projected the emitter to spawn particles based off of the model's mesh.
The update particle function was then updated to track the mesh location and update the emitter accordingly. I then compiled a blueprint to overlay and bind the Niagara system to the mesh animation to use in sequencer.
Unreal Sequencer & Post Processing
The usage of Unreal Sequencer contained everything from Material parameters to the Animation of the character. Each camera was timed to move, change focus, and even change the focal lens during each shot. As a base setting, I set the cinema cameras to a 2.39 crop and a focal length between 85 mm and 200 mm,
I find that I obtain a higher quality for most shots at a higher mm but they are adjusted dependent on the shot. I used manual exposure for the cameras that were shooting in darker areas to render in the right quality that I intended.
Finally! After all this, I took my EXR files into Davinci Resolve to color grade and edit as needed. I set the color conversion to ACEScg-CSC before cutting each camera shot as its own clip, this way I could edit each clip individually.
Like Unreal, Davinci uses noes to set filters per clip; editing the tone, exposure, color correct, bloom, and vingette to each shot. I intended for the cinematic to start as a neutral tone and as the VFX were added, boost the saturation to give a mystical feel.